💡 如果还不了解 HTML 、 CSS和JS,可以参考本号下的 HTML21 天入门教程、 CSS 21 天入门教程和JS21天入门教程。
React 开发是基于组件的,也就大功能会拆分成一个一个小功能,也就变成了一个个组件。
很自然的,组件之间就存在父子关系、兄弟关系及跨级关系三种。
今天来讲父子组件之间的通信。
父子组件通信
父子组件之间的通信分成父到子、子到父两种。
父到子通信
父组件到子组件的通信,在前面讲属性的时候提过。
通过 props ,可以把数据从父组件传递到子组件。
这时候传递到子组件的数据是只读的。
import React from 'react'; function SayHello(props) { return ( <div> <h1>Hello, {props.name}!</h1> </div> ); } export default SayHello;
上面的 SayHello 组件是一个子组件,它接受来自父组件的属性 name 。
import SayHello from './SayHello'; function App() { return ( <SayHello name="World" /> } export default App;
在上面的父组件 App 中,传入属性 name 给子组件。
这种父到子的数据传递,类似于函数调用时候的参数传递。
子到父通信
子组件到父组件的数据传递,还是通过 props 实现的。
依然是通过 props 从父组件向子组件先传递,不同的是传递是回调函数,而不是具体的数据。
因为数据在子组件是不能修改的,但回调函数则可以传递信息回去在父组件执行。
import React from 'react'; function SayHello(props) { const sendMessage = () => { const message = 'Hello from child!'; props.onMessage(message); }; return ( <div> <h1 style={{ color: 'blue', fontSzie: 22 }}>Hello, {props.name}!</h1> <button onClick={sendMessage}>发送消息</button> </div> ); } export default SayHello;
修改上述子组件代码,增加了一个按钮。并且按钮有点击事件。
在点击事件里,为 props 的 onMessage 方法传递了 message 信息。
import './App.css'; import SayHello from './SayHello'; import { useState } from 'react'; function App() { const [msg, setMsg] = useState(''); const handleChildMessage = (message) => { setMsg(message); console.log('Received message from child:', message); }; return ( <div> <div>{msg}</div> <SayHello name="World" onMessage={handleChildMessage} /> </div> ); } export default App;
修改父组件代码,在子组件的调用上,增加了刚才新添加的事件 onMessage 事件处理方法 handleChildMessage 。
在 handleChildMessage 方法,把接收到的 message 和页面中 div 显示的内容绑定在一起。
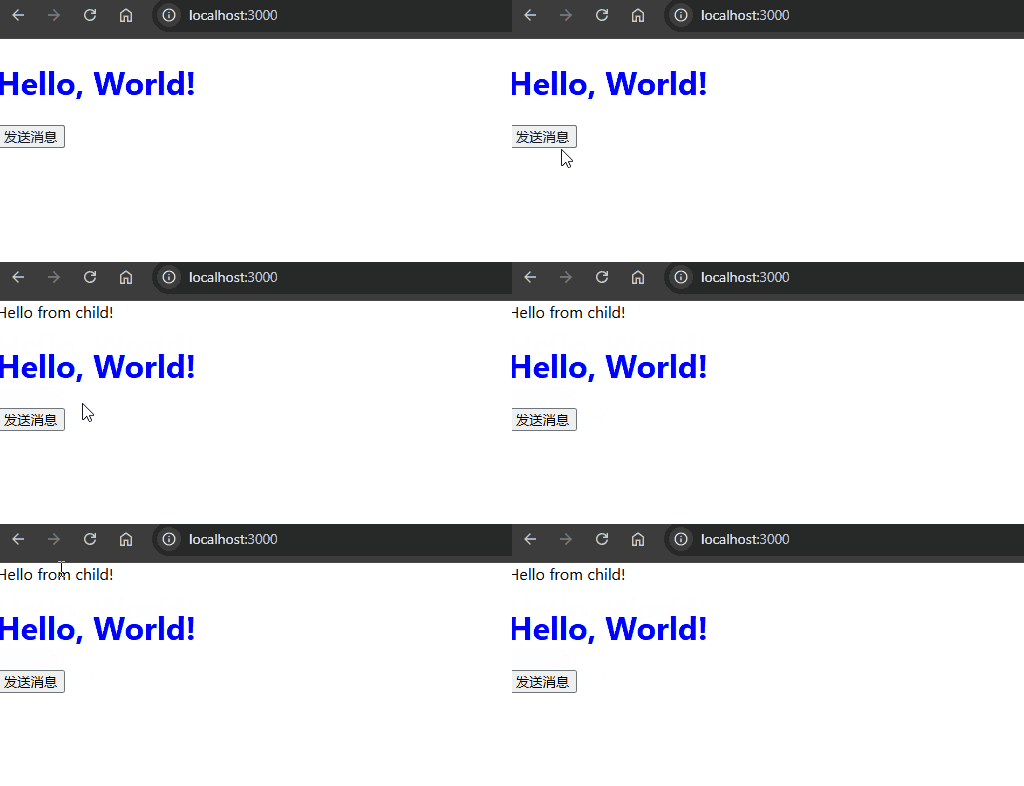
这样的实现效果如下:
 当点击按钮时,消息就从子组件传递到父组件,然后显示在了页面上。
总结
最后来总结一下今天的内容要点:
- 🍑 组件之间存在父子关系、兄弟关系及跨级关系三种。
该文章在 2024/12/13 8:56:38 编辑过